Hello Friends! I am excited to share this card with you today and show you all of the wonderful supplies used. I will have everything linked but if you have any questions, please feel free to ask in the comments.
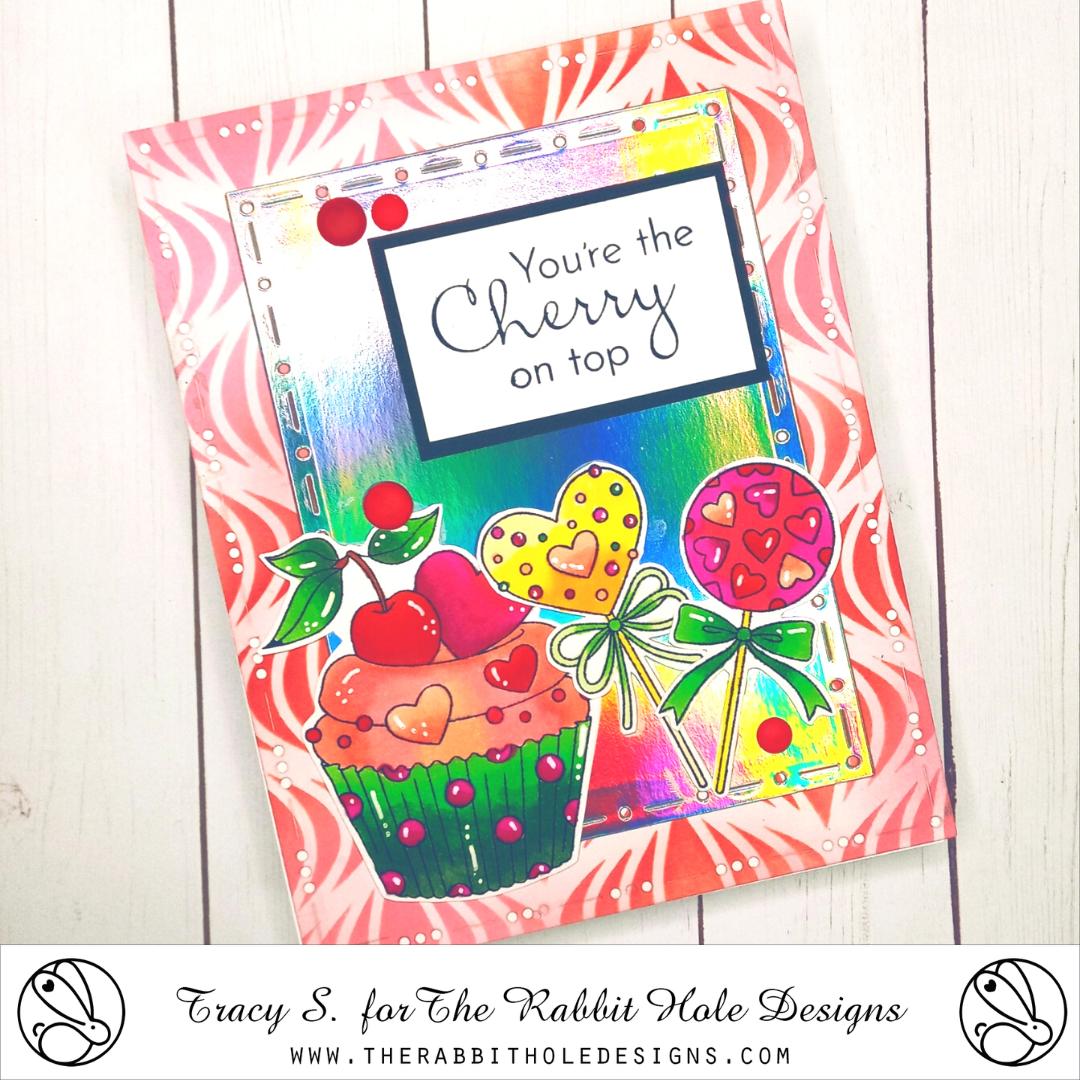
To start, I stenciled using the Cat Eye stencil and a TRHD stencil brush, on an A2 size panel. Using a mixture of red and pink Distress Oxide inks. I set that aside and let it dry. I stamped and colored (with alcohol markers) images from the set "sweet wishes". I then fussy cut them out but coordinating dies are available for purchase.
To continue, I colored a few of the white enamel dots from TRHD, with Copic Markers, in varying shades of red. I love being able to customize these enamel dots to create any color you'd like.
.png)
Once the stenciled background is finished drying, I used the largest of the You've Been Framed layering dies to cut my panel. Then I used the smallest size of the framed dies to cut another panel with holographic paper.
I then start assembling the card, first by placing the largest panel on the card base, then the holographic on the card as well. I placed the images and a sentiment on the card and it is complete, once the enamel dots are on as well.
I hope you enjoyed this tutorial and if you have any questions please feel free to comment or message on Instagram @craftwithme101
I challenge you to recreate this. Make sure to tag me @craftwithme101 and The Rabbit Hole Designs on Instagram if you do.
For more inspiration, updates, and news make sure to check out these awesome places!

No comments:
Post a Comment