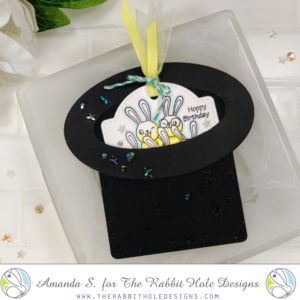
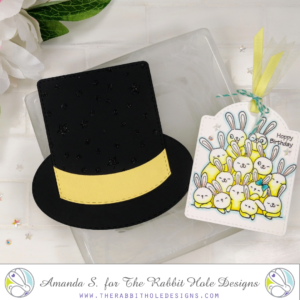
Hey crafty friend, it's Amanda from Pear Blossom Press again with a fun new interactive card! I haven't been shy about saying the All Ears set is my favorite of the new release. As soon as I saw the image, I knew I wanted to create a pocket card shaped like a top hat and have the cute little bunnies pull out. And I'm happy to report, this card came out as cute in real life as it was in my head! (Lol, that isn't always the case.)
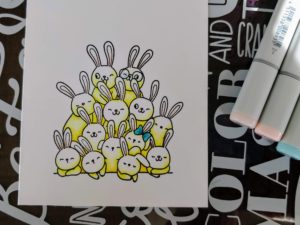
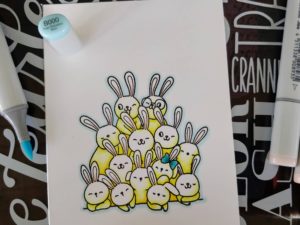
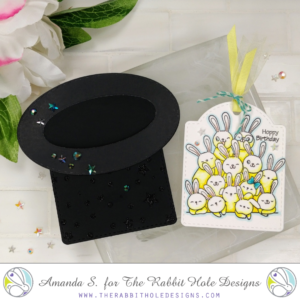
I stamped the bunny pile onto a panel and channeled my inner Mona Toth for coloring inspiration (she does yellow and turquoise like nobody's business!) I used Copic markers to color the bunnies, then added a drop shadow around the outer edge with a pale blue marker. You can see how that little bit of color helps the image not look so flat. (By the way, it's day 2 of the new 30 Day Coloring Challenge; are you coloring along with us?)
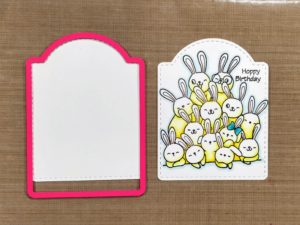
I stamped my sentiment and cut the panel out with a tag die. Because I used Copic markers, I cut a second tag to layer behind to cover the bleed through. The tag I used was a little long for my image, so I slid the die up and re-cut the bottom to shorten it.
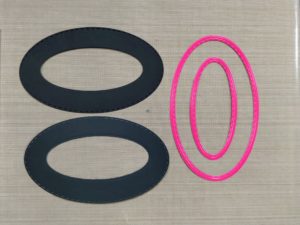
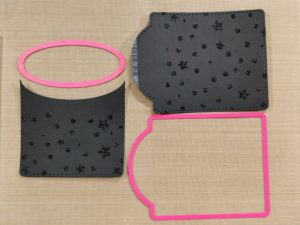
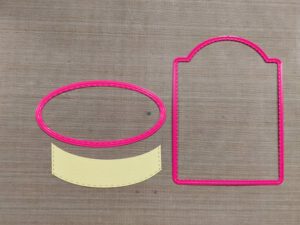
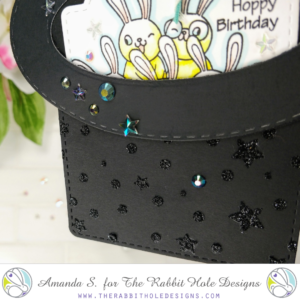
The top hat might look a little complicated, but it was actually pretty easy to make, and I've got step-by-step pictures to help guide you through. Basically, I cut a pair of oval donuts, and a pair of tags (slightly larger than the tag I used for the bunnies). Some black Glitter Glitz Gel stenciled on the tags give the top hat some pizzazz and lend to the magical feeling I was trying to create.
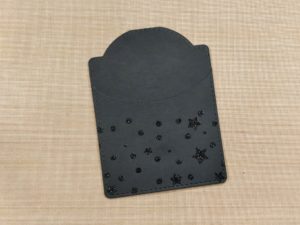
The tags I used for the hat are the same width as the inner oval, so they slip right inside.* I trimmed the front tag down with the inner oval die so when I glued outer the edges together, they created a library pocket.
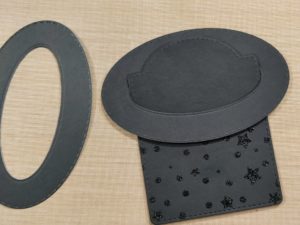
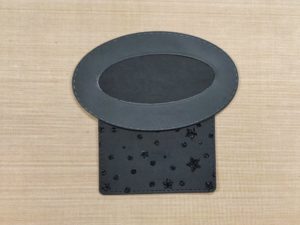
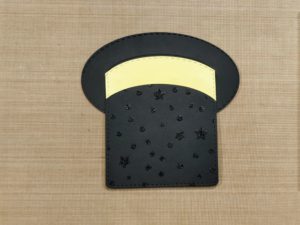
Next, I slipped the pocket in through the center of the first oval and lined it up with the pocket opening. I glued it in place. (It's going to look weird and you're going to wonder if you're doing it right. Don't worry, if it looks like the picture below, it's right.) Now to fix the weird lines at the top, I glued the second oval on top of the first oval. (It doesn't slide around anything, just gets glued right on top.) This hides the top edge of the back of the pocket and makes it look like a hat brim. Test to make sure no glue has seeped out and sealed your pocket shut.
Every dapper top hat has trim, and I decided to add a yellow band to the back of mine. (From the front side's perspective, you wouldn't be able to see the band, so I only added it to the back.) I used the same larger tag and smaller oval dies to cut it out, then I glued it to the hat.
To finish the card, I punched a hole in my bunny tag, tied on some ribbon and twine, then added some flat-backed stars and gems to both the tag and hat. I love it! It's all ready for a very magical birthday...my Grandpa's 90th! (I'll let you know what he thinks of it ☺️)
Thanks for stopping by today! You can find the sister article to this on my blog, along with links to the specific products I used. Hop on over for more inspiration. If you'd like to see another card I made using this stamp, check this out. I'll be back soon with another fun card.
*If you don't have tag or rounded rectangle dies that are wide enough to fit the exact opening of your inner oval, just cut the right size panels with your paper trimmer and use a corner rounder at the bottom. If your die is too wide, you can cut the panels out, then slide your die over and trim the panels down with it in a second pass through your machine (like I did to shorten the bunny tag).
For more inspiration, updates, and news make sure to check out these places

Such a cute and creative card! I love the detailed instructions and hope to recreate it soon
ReplyDeleteHugs, Joy
I love that she used her dies in a creative way!!!
ReplyDeleteLove this card! Thanks for the instructions and inspiration to make this card.
ReplyDelete