Hey crafty friends, it's Amanda from Pear Blossom Press again. Have you played with the new Put a Bow on It stamp set from The Rabbit Hole Designs yet? It is so pretty and offers a ton of coloring possibilities. After seeing Kathy Racoosin's take on it, I almost didn't want to post my first card with it.
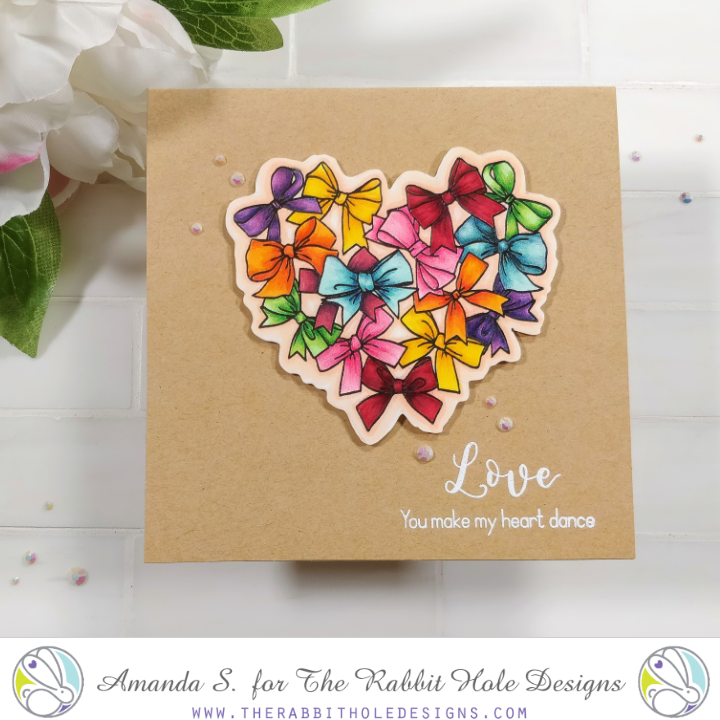
This time around, I had an ace up my sleeve though. I stamped, embossed, and Copic colored my image. I fussy cut it with my ScanNCut and popped it up on a square kraft card base with foam tape (a coordinating die is available). A few scattered gems dressed the card up and it was basically finished. Then, I got on a plane to Florida and took it to Kathy's Coloring Challenge Road Trip class for some advice on how to step it up!
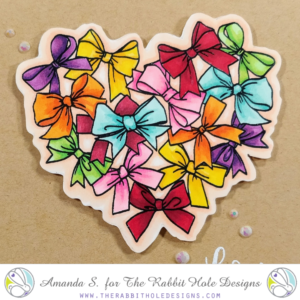
This first picture shows my image before I went to class...

I showed it to Kathy and she used a dark blue colored pencil to deepen the shadows on the blue bow in the center. She used more pressure near the black outlines and then soft squiggles and circles to blend the color out. You can see how much more dimension it has than the others.
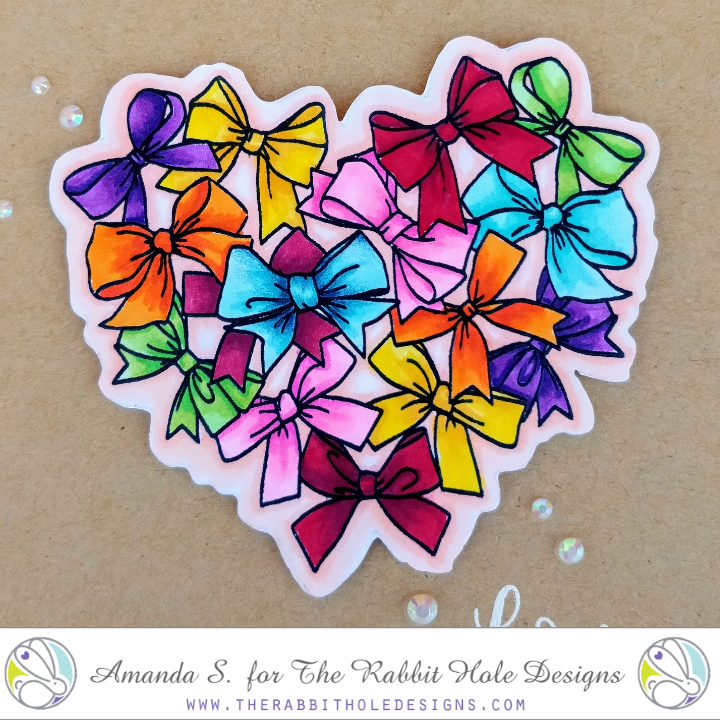
Then it was my turn. I got to work on the other bows, adding some shading to the outside edges of the loops, as well as the centers and overlapping areas. I seem to have a heavier hand when it comes to blending so I lost some of the lightest highlight areas, or sweet spots, as Kathy calls them. I will continue to practice, but the additional shading makes a huge difference!

Kathy shares some fantastic tips and techniques in her classes. I took my first one with her in September. I still have lots of practice to do, but the second class was a great refresher and reminded me of tips I forgot about after the first one. Luckily, she will be sharing her coloring classes online soon! Keep an eye out for Kathy's Coloring Challenge Road Trip on Online Card Classes!
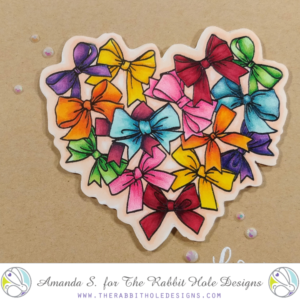
Overall, I'm much happier with the updated card. Now I will tell you, she recommends not embossing images because the raised edges keep you from getting your pencil tip all the way to the lines. The more I practiced on this image, the more I understood what she meant. So I'll be forgoing the embossing for a while to compare. Let me know what you think. Can you see the difference between the before and after?
Thanks for stopping by today; I'll be back soon with another fun card. You can find more inspiration and ideas and links to the specific products I used on my blog.
Great tip. I have never embossed before using colored pencils!
ReplyDeleteHa! I just went back and re-read...properly this time, and it says DON'T emboss. So I have been doing it correctly all this time :)
ReplyDeleteLol, yep. Keep up the good work! 😂😂😂
Delete