Hello my crafty friend. Amanda here, from Pear Blossom Press again. Grab a cup of joe, and I'll tell you all about this fun shaker card...
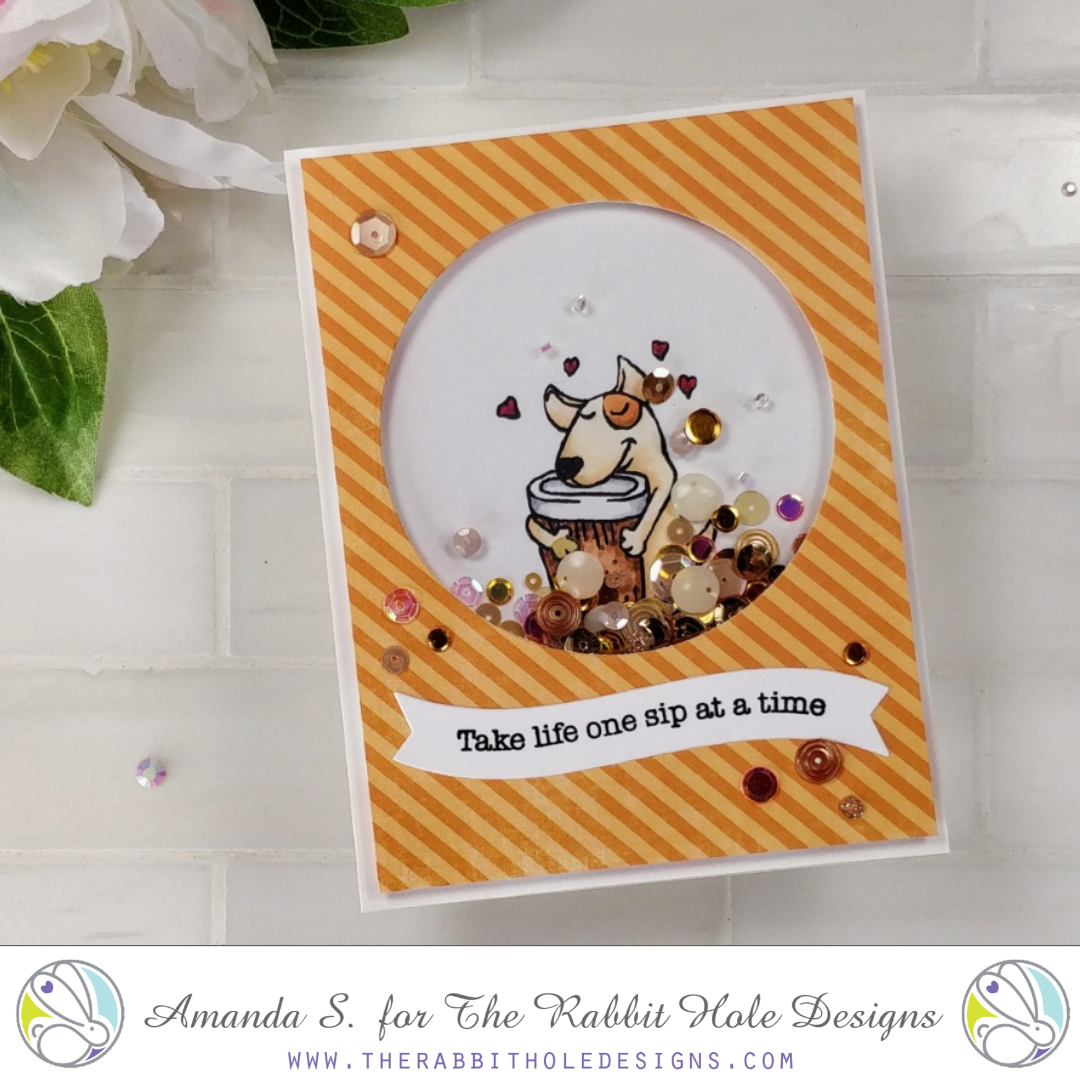
I really love the new Caffeinated Terrier. Unlike many of the other caffeinated critters in the series, this little guy has a very satisfied expression on his face. Don't get me wrong, the tired eyes on the other critters crack me up, but the terrier helps you create a different mood.
Having no idea what I was going to do with him when I stamped him, I played it safe and placed him in the middle of an A2 panel, then I colored him with Copic markers. I often stamp out one or more images on a panel and take them to the couch to color while I'm watching TV, or helping my daughter with schoolwork.
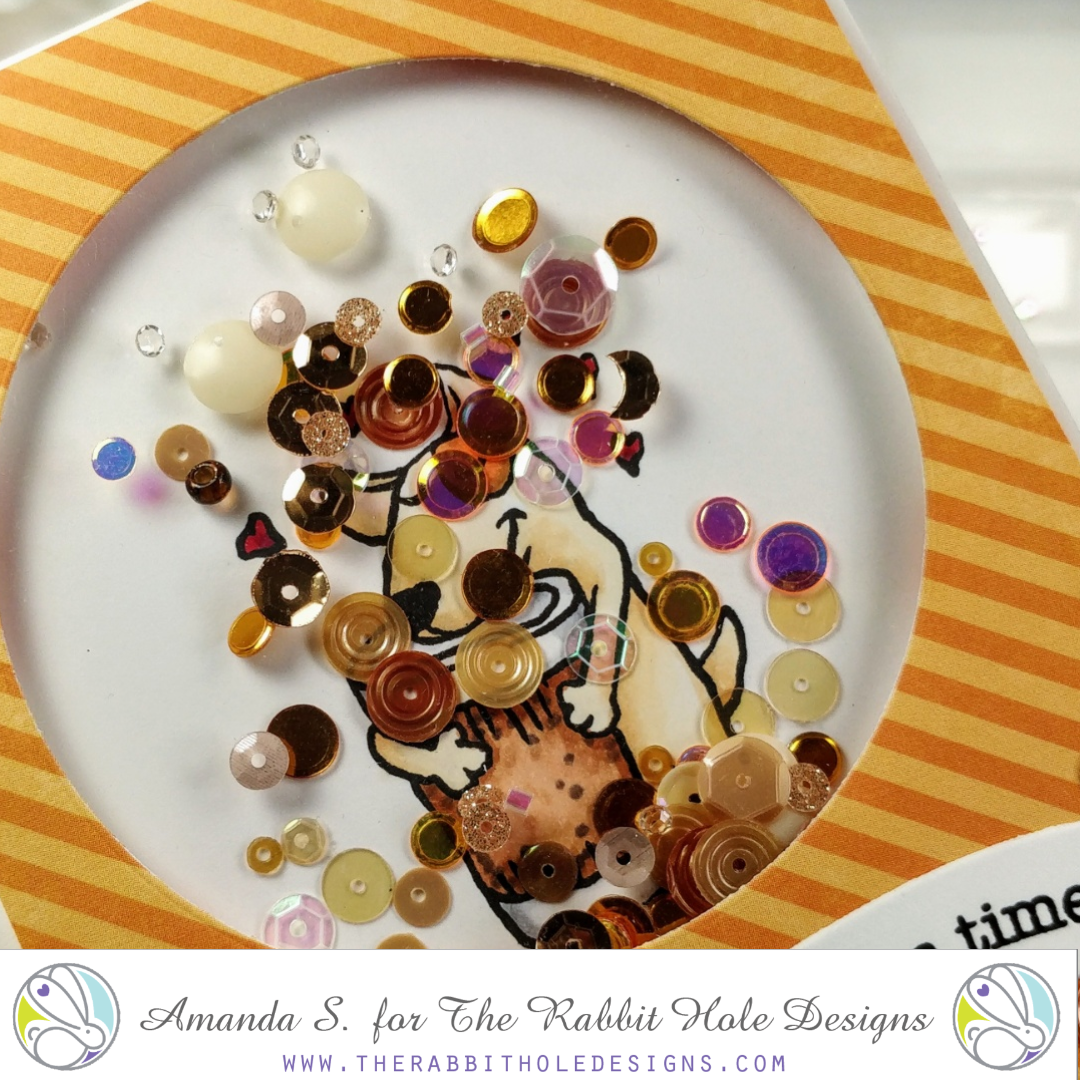
As I colored him, I thought about masking him off and ink blending a background behind him. But, if I'm being completely honest, I didn't want to fussy cut a mask when I sat down to complete the card the next day. And I've had a beautiful pack of Sparkle Blends in my stash for a long time, that are perfect for coffee themed shakers, so I decided to pair them up. I rummaged through my scraps and found orange stripe pattern paper, trimmed it down, and die cut a window with a circle die. (If I had cut the window first, then trimmed the panel down, it would have been easier. But that's what I'm here for, to make the mistakes and let you know how to avoid them, right?) I also pulled out the new orange sequins that came for free with my Rabbit Hole order. I figured I'd mix them in with the coffee blend, to pull all of my colors together.
I used Scor-tape to adhere acetate behind the window; double stick tapes seem to work better than any of my wet glues for acetate. I used double thick foam tape to frame the back of the window and the border of the orange panel. A quick pass of the powder tool around the edges of the foam (before I removed the release paper) keeps the shaker bits from sticking to the sides. Then I peeled up the release paper, added the shaker bits, (got the order right there) and stuck the terrier panel to the frame.
Since I had trimmed the orange panel smaller than A2, and wanted to leave the stamped panel whole, I used a neat trick I learned in my friend Roslyn's video. I simply placed the frame face down on another A2 panel, lined it up, and used the outer edges of the second panel to line up the stamped panel. This is such a great idea for lining up larger pieces on top of smaller ones! Normally, I pile up the shaker bits in the center of the larger panel and place the smaller frame on top, but if you bump it, you can send that pile all over the place.
To finish the card, I glued a sentiment banner along the bottom and a card base to the back. A few more sequins scattered on top add more interest and pull the whole thing together. I love the way it turned out, and the fun interactive element. What do you think? There's something so satisfying about the sound of a shaker...
Well, I hope I've inspired you to shake things up a little, and make some shaker cards of your own. And I hope your coffee didn't get cold while you were reading this. You can find the sister article to this on my blog. Hop on over for more inspiration. And be sure to come back on Monday, as we kick off the new release; it's outta this world! See you then...
For more inspiration, updates, and news make sure to check out these awesome places!
Love it. I was having a hard time thinking of what to do with him. Thanks for getting my brain in gear.
ReplyDeletetoo cute! love them!!
ReplyDeleteAlicia
I loved your video when you first recieved what you created and designed. Love to hear the voice enthusiasm! Ypu should be proud because they are adorable. Great card!bye...off for a cuppa❤❤❤
ReplyDelete