Hey crafty friends, it's Amanda from Pear Blossom Press again. Have you been coloring along for the 30 Day Coloring Challenge this month? I have, and the new Owl Right stamp set has a fun image to color. While I was coloring this one, I wanted to practice adding big, bright highlights.
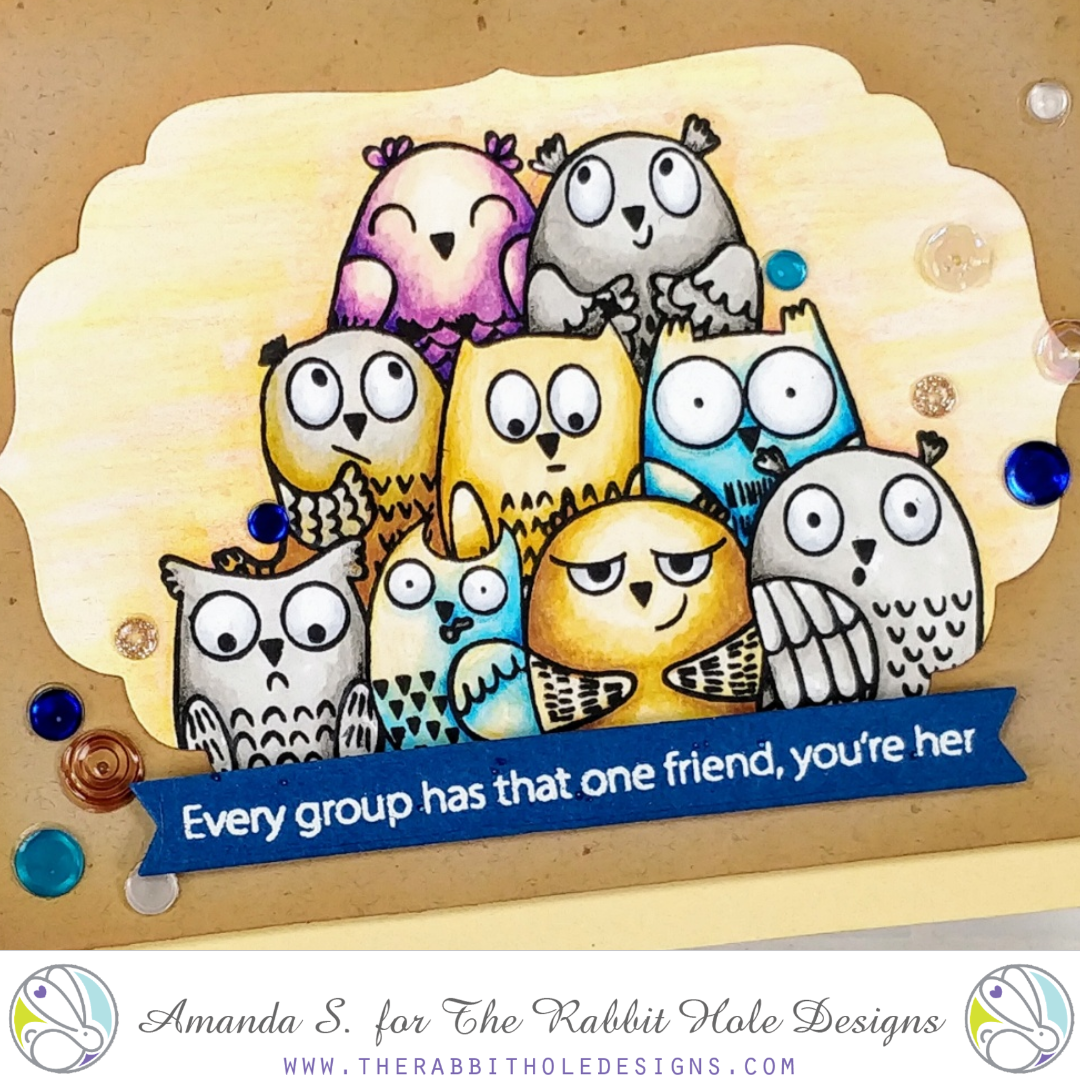
I stamped my image and colored it with Copic markers, leaving large areas of white space at the top of each face. The eyes weren't standing out enough, so I chose to color over each owl with a very pale marker. Next, I added a pale cool grey to the bottom half of each eye to add dimension. I added shading by outlining the entire image with a warm marker, then blended it out to a pale yellow. I added extra shading with colored pencils.
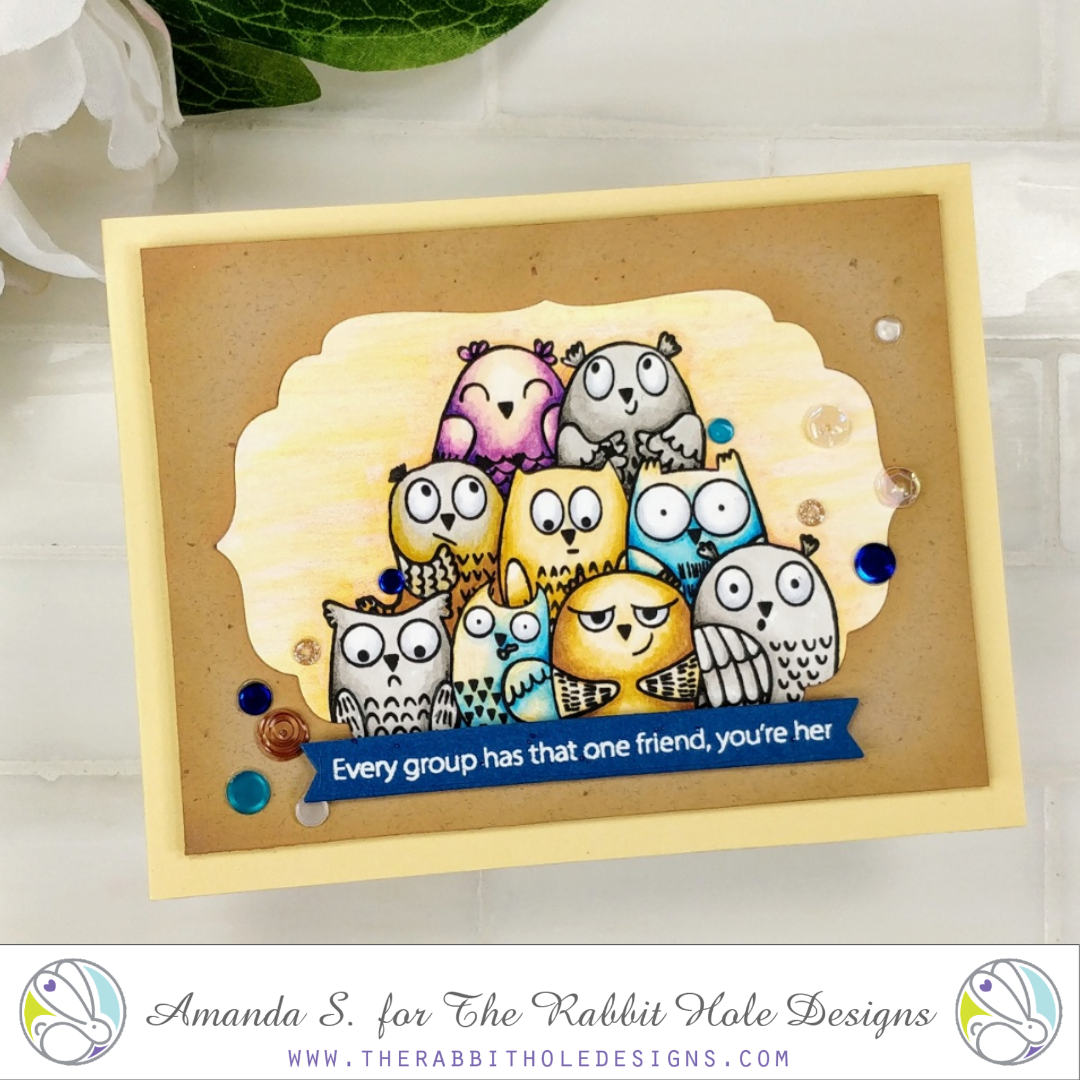
To assemble the card, I cut the image out with a label die, then die cut the same label out of a panel of kraft cardstock to inlay the image. I taped the pieces together and then popped the panel up on a cream card base with foam tape. I popped up a fishtail banner, embossed with a Sassy Sentiment, with more foam tape, and added a few sequins. A coat of Diamond Glaze over the sequins adds extra shine. Last time I colored this image, I added Diamond Glaze to all of the eyes as well. Take a look here, and let me know which you like better. Flat or glazed?
Thanks for stopping by today. You can find the sister article to this post on my blog, along with links to the specific products I used. I'll be back with more fun cards to share. In the meantime, hop along with The Rabbit Hole Designs on social media for more inspiration:
No comments:
Post a Comment