
Why are masculine cards so hard? Is it just me, or are clean and simple cards hard too? It's never that they take a lot of work; it's just that the ideas are hard to come up with. And it's hard to know the difference between clean and simple, versus plain and boring, right? Amanda from Pear Blossom Press here again, and today, I'm sharing a two versions of a clean and simple, masculine card. Since I already took care of the hard part (coming up with the idea), you're going to love how fast you can whip up a whole batch of these to have on hand!
STEP ONE:
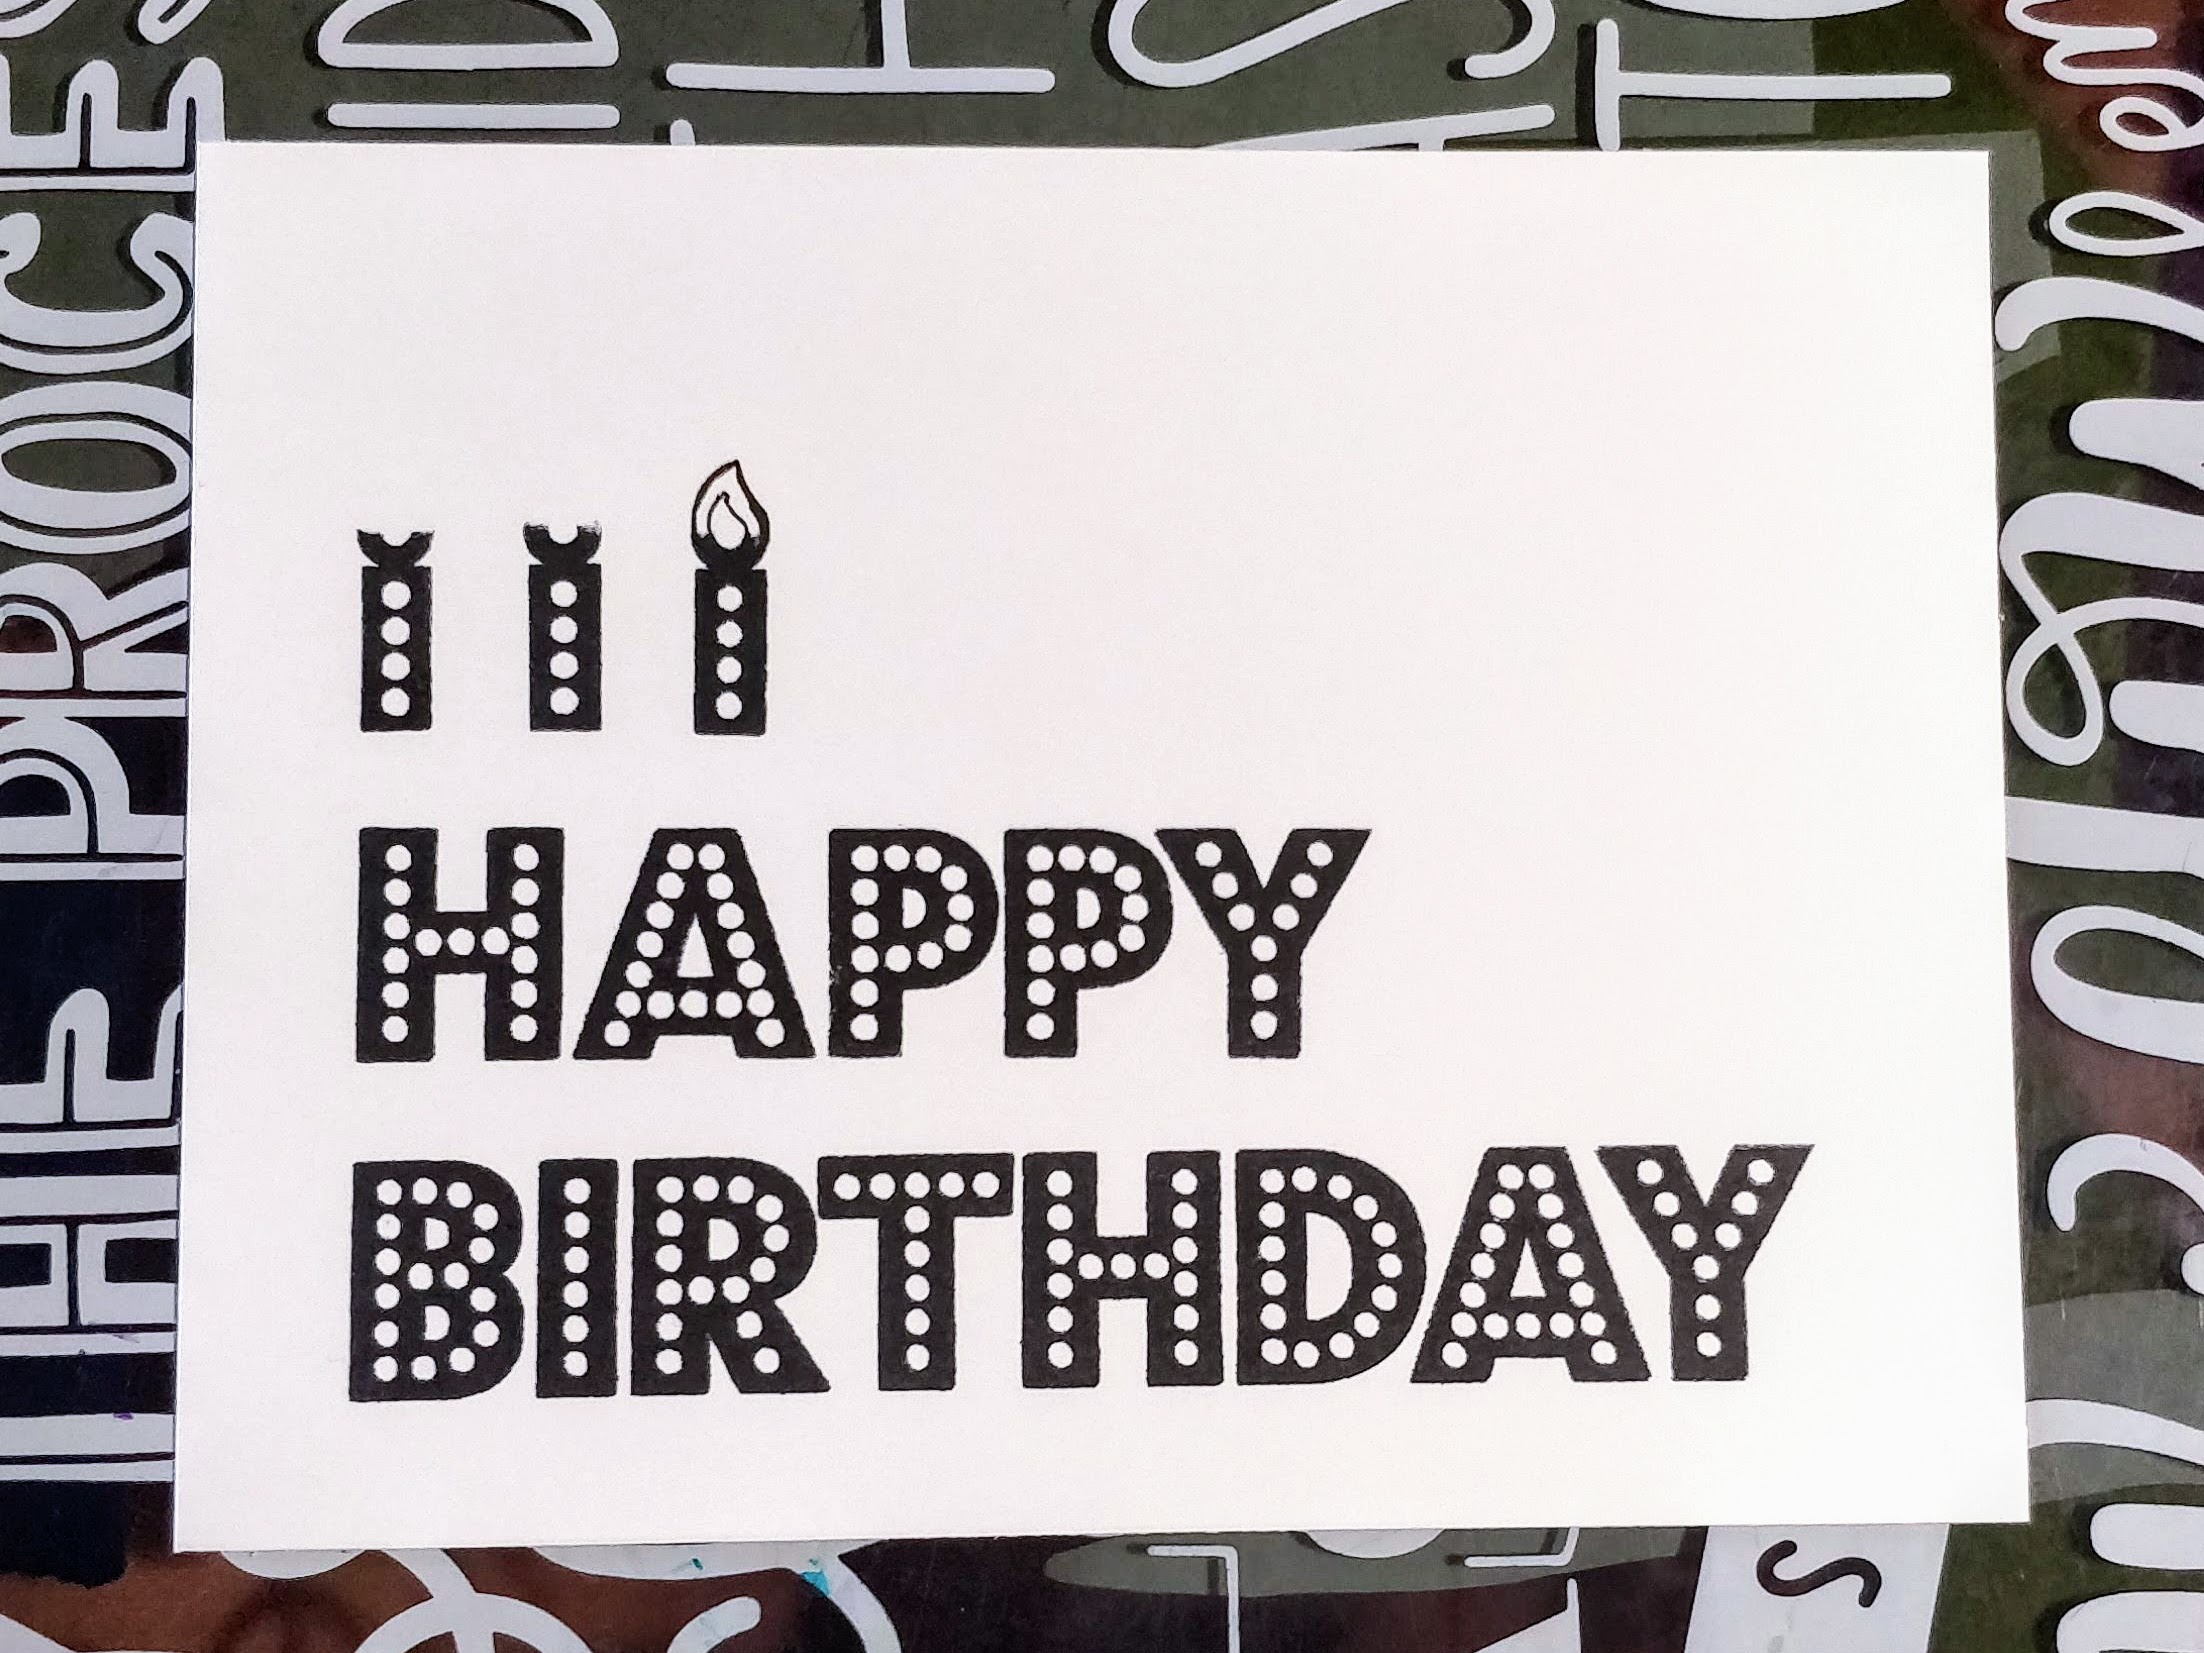
Stamp HAPPY BIRTHDAY from the Marquee Words set onto a white panel. Turn the exclamation point upside down and stamp the bottom portion of it (mask off the top of the dot) above the words. Move it over and stamp it two more times. Next, use a Copic Multiliner and draw the top of the dot to look like a candle flame.
STEP TWO:
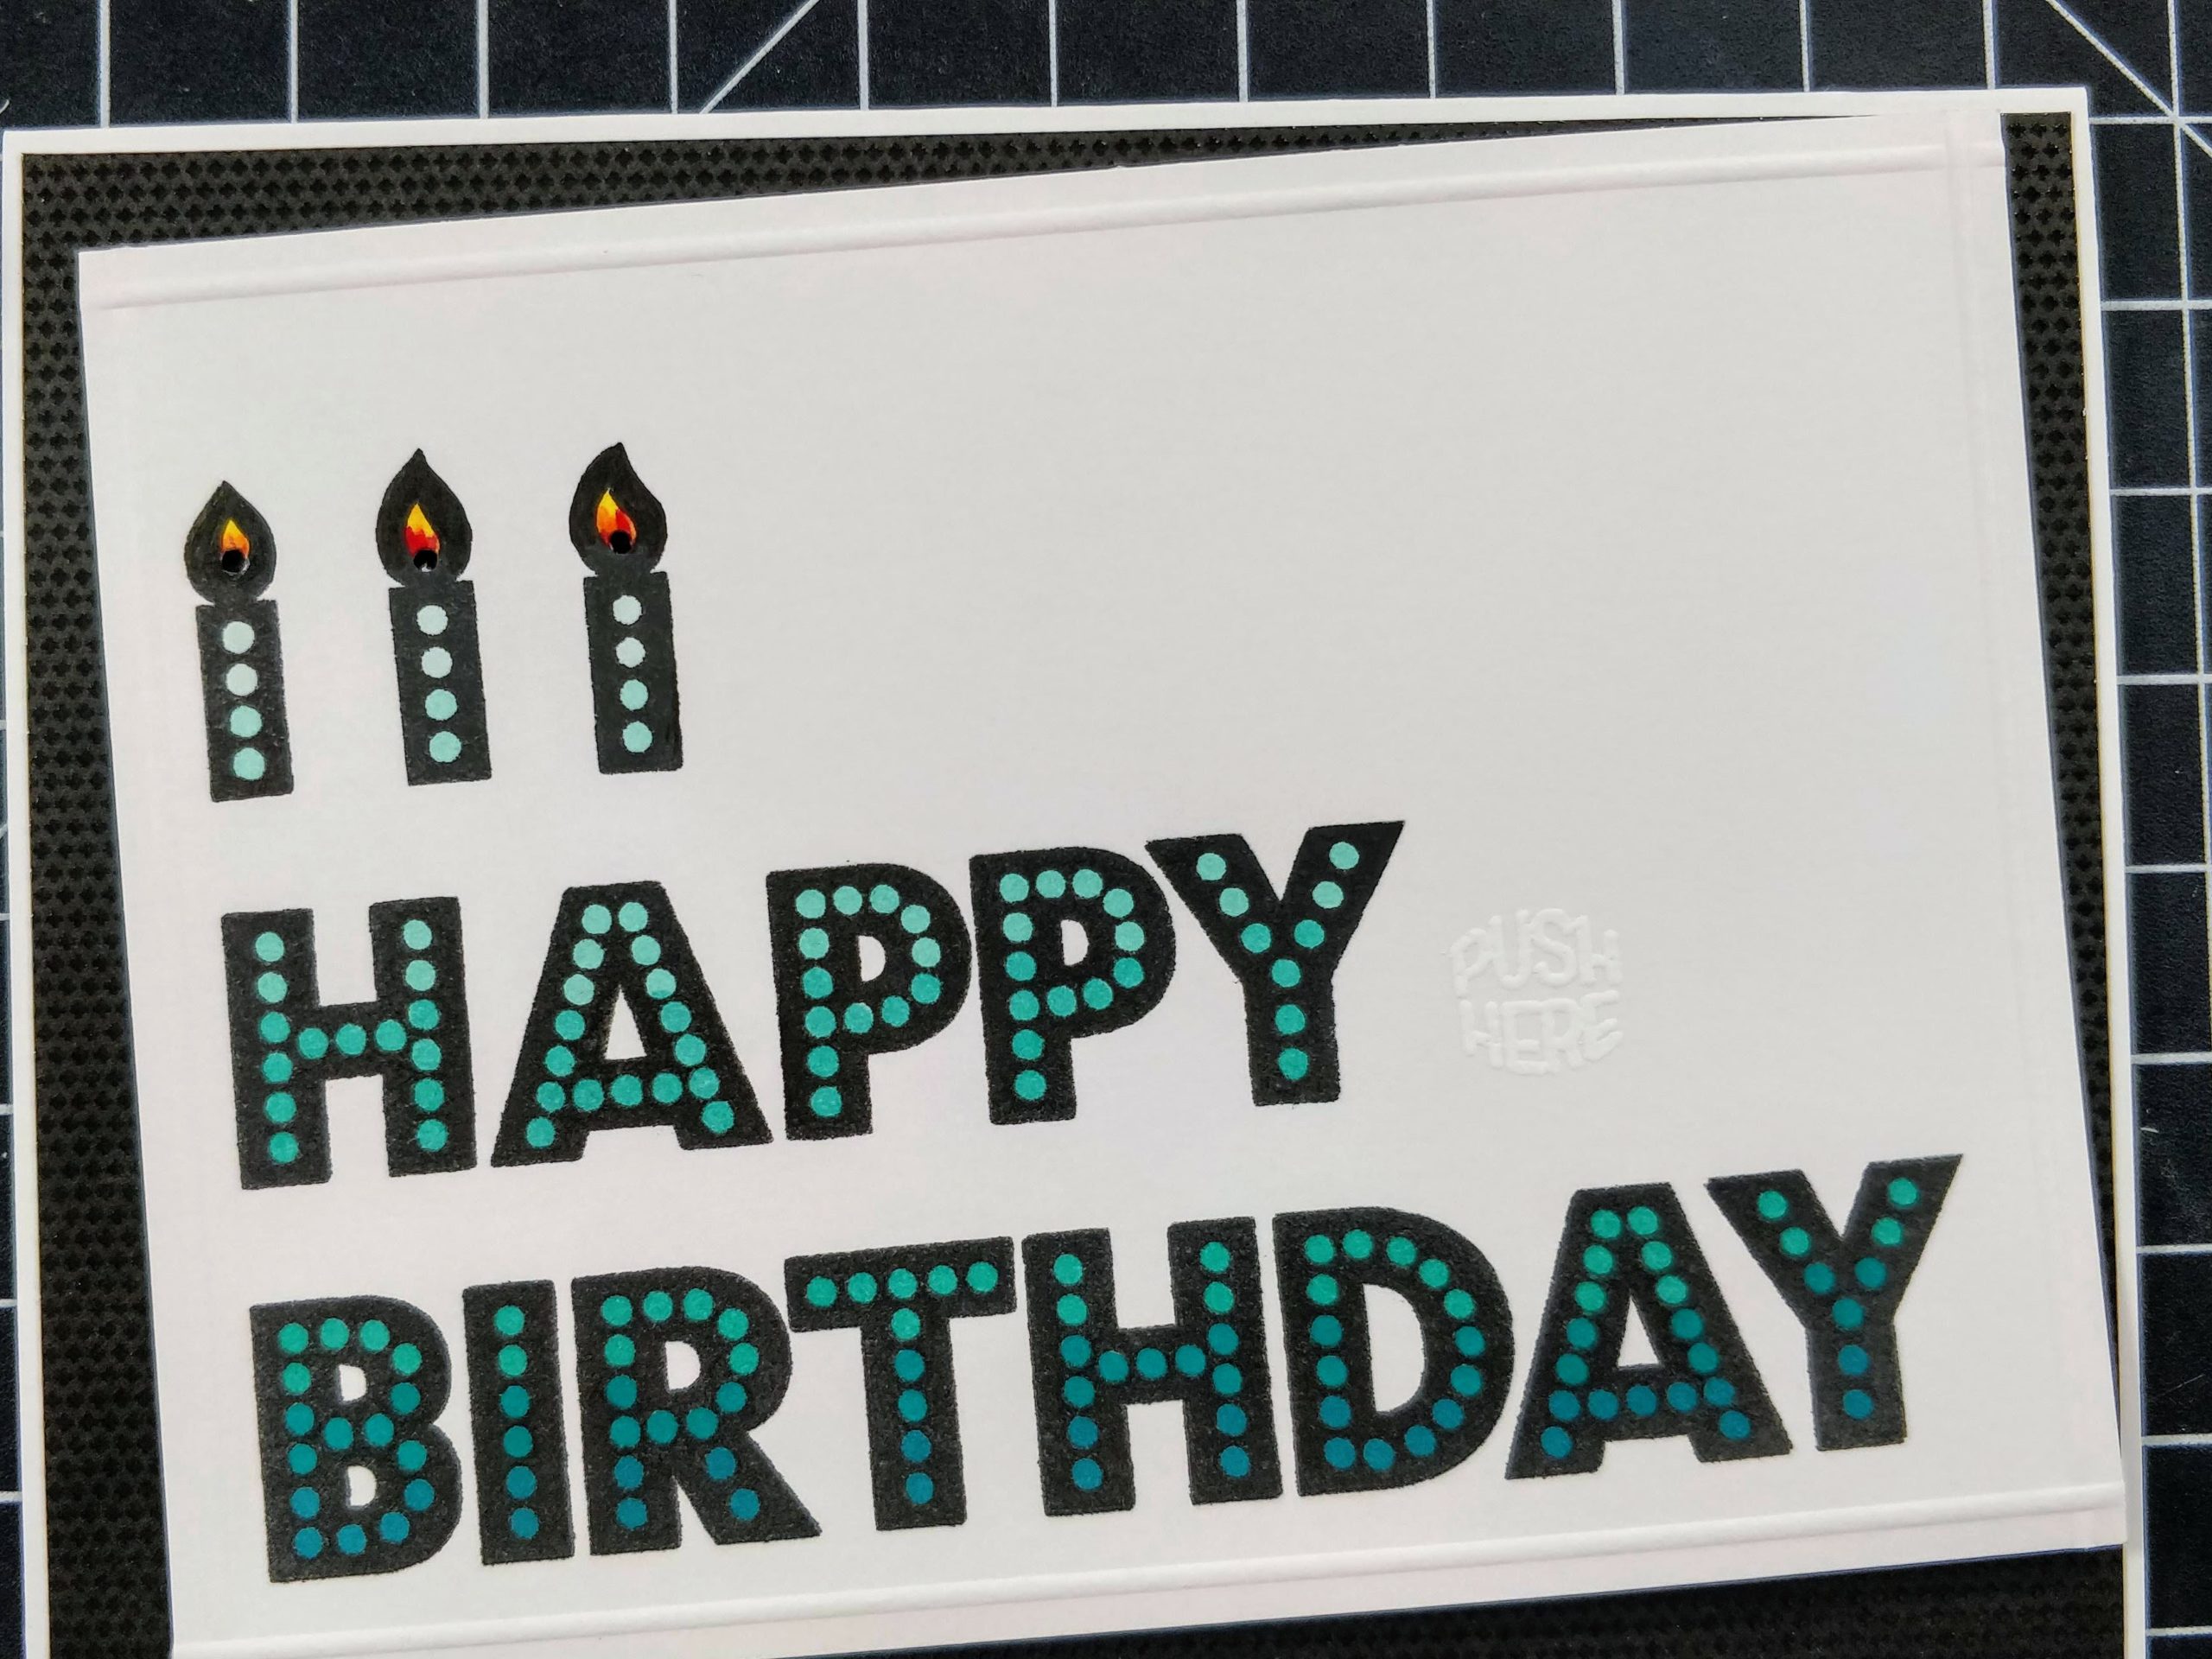
Color the dots and flames with Copic markers. I used shades of green for one card, and blue greens for the second. Next, I trimmed the panels down to 5" x 3¾" and added a raised border, by scoring 1/8" on all four sides of the panels in my Scor-Pal. At this point, you can pop the panels up with fun foam on black mats and white card bases. (That's what I did for the green card.) But if you want to spend a few more minutes on the cards, you can add lights to the flames with EZ-Lights. They'll add a real pop of light! To do that, you'll want to punch a small hole at the base of each candle flame. And if you look closely, you'll see that I embossed PUSH HERE next to the Y in happy. I used white powder to allow it to blend into the background. In person, you can see the raised, shiny text, but it doesn't detract from the clean layout.
STEP THREE:
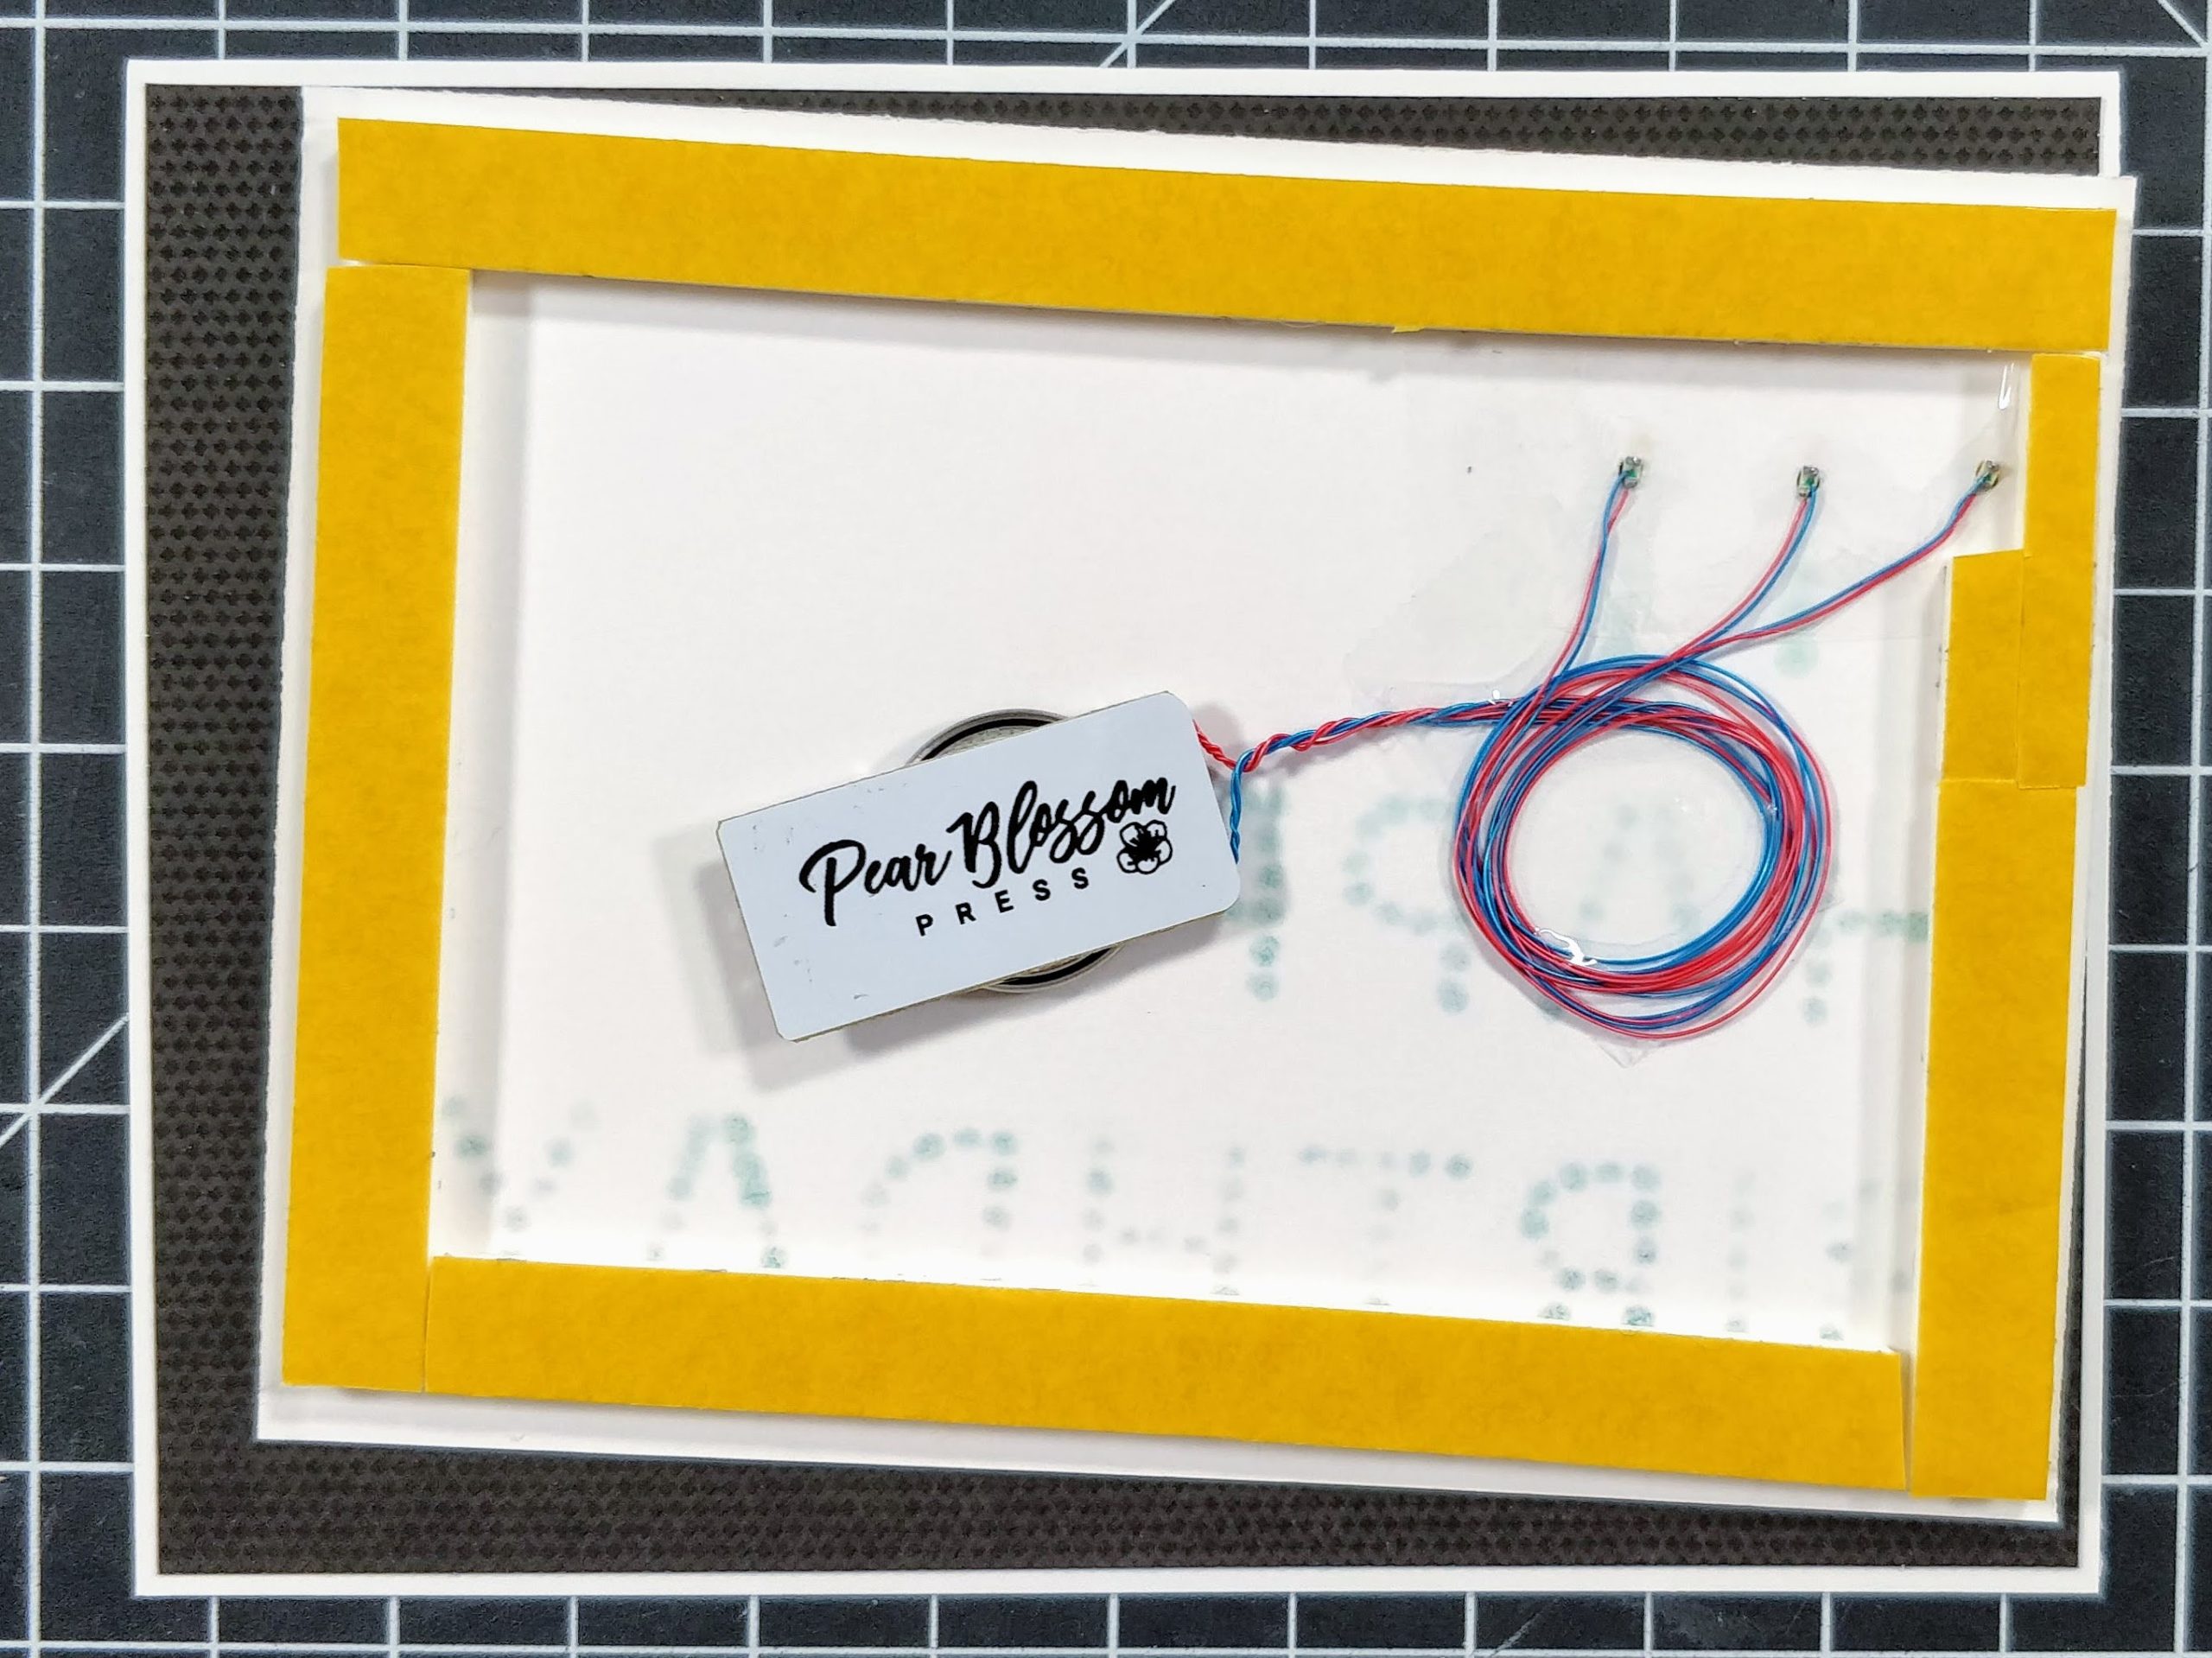
Add lights! Flip your panel over and use double-stick tape to adhere the battery of your EZ-Light to the panel, making sure to line up the button right under PUSH HERE on the other side. Line up the three LEDs with the holes in the candles and secure them with tape. Add a layer of double-thick foam tape around the edges of the panel. I promise, it's really simple. Then you can attach it to the black mat and card base.
STEP FOUR:
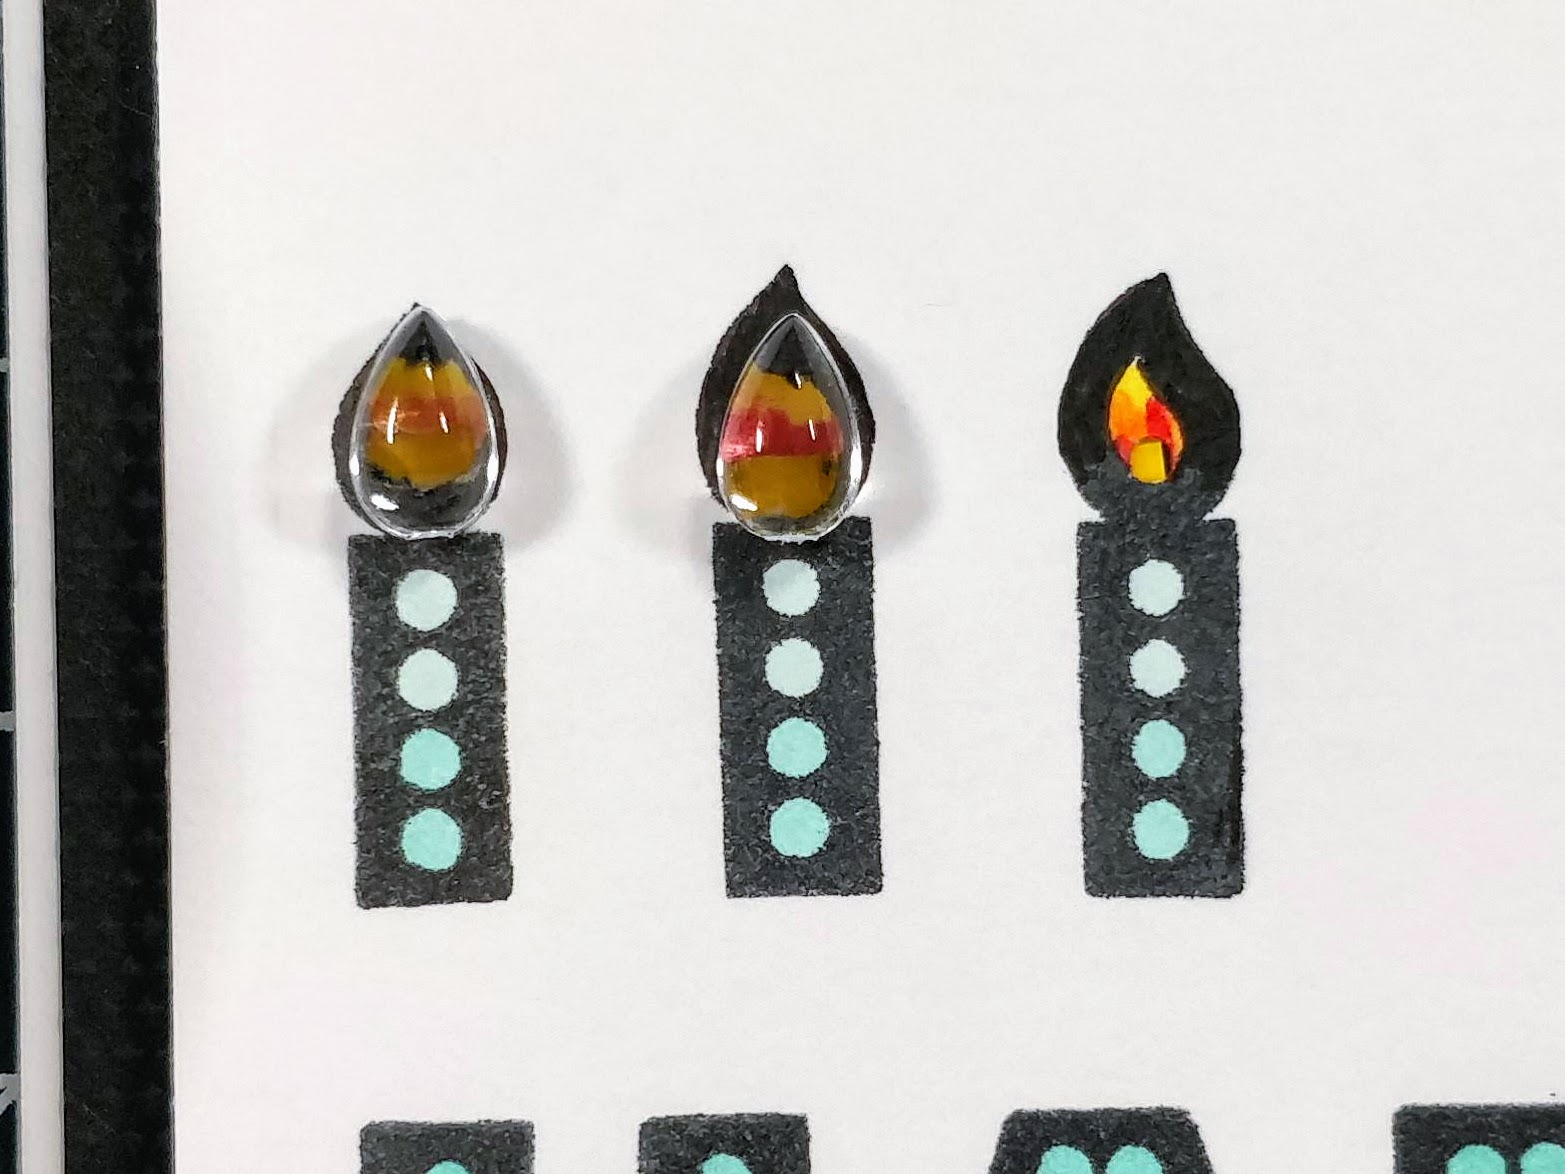
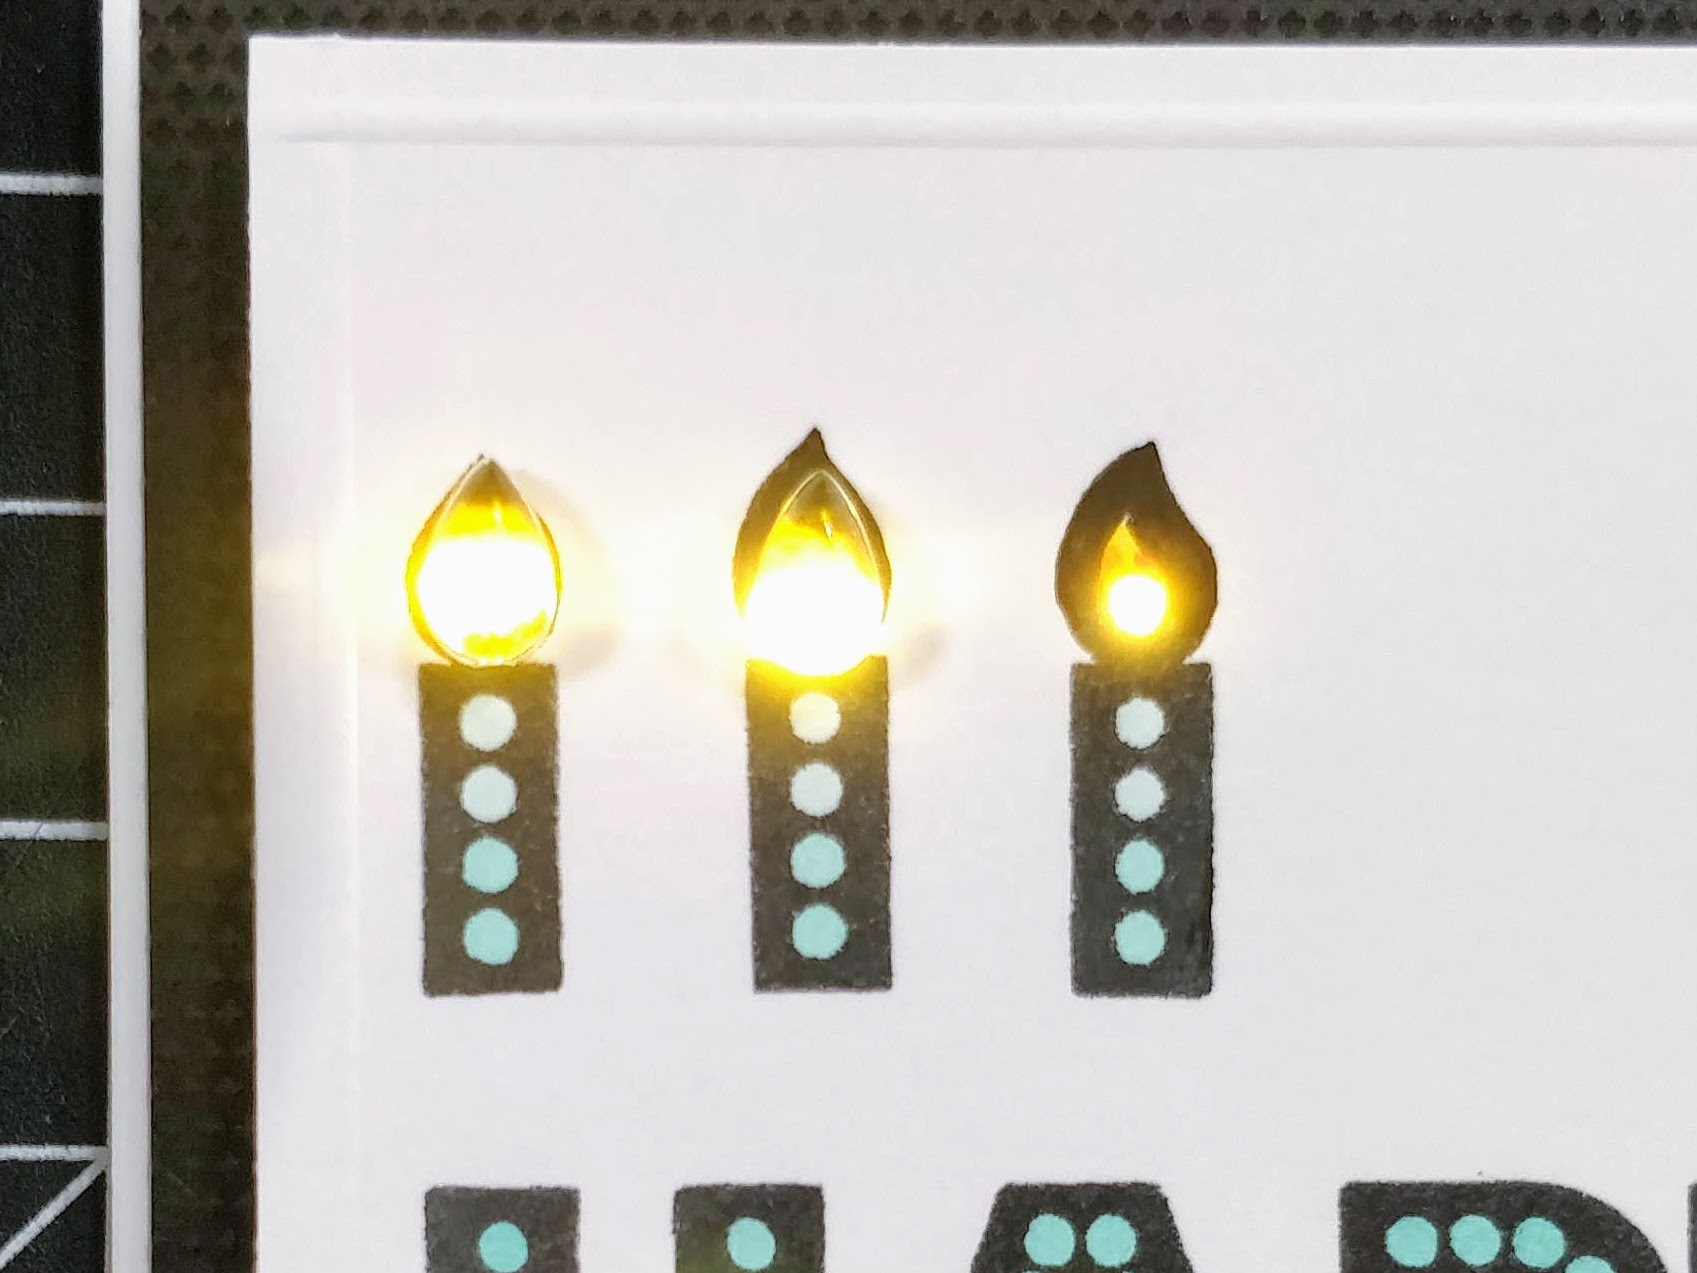
Add clear raindrop gems on top of the flames. I did this on both cards; they're a great detail whether or not they light up. In the pictures below, you can see how the entire gem will light up when you put it on top of a light. You can also see what it would look like if you don't cover up the light...
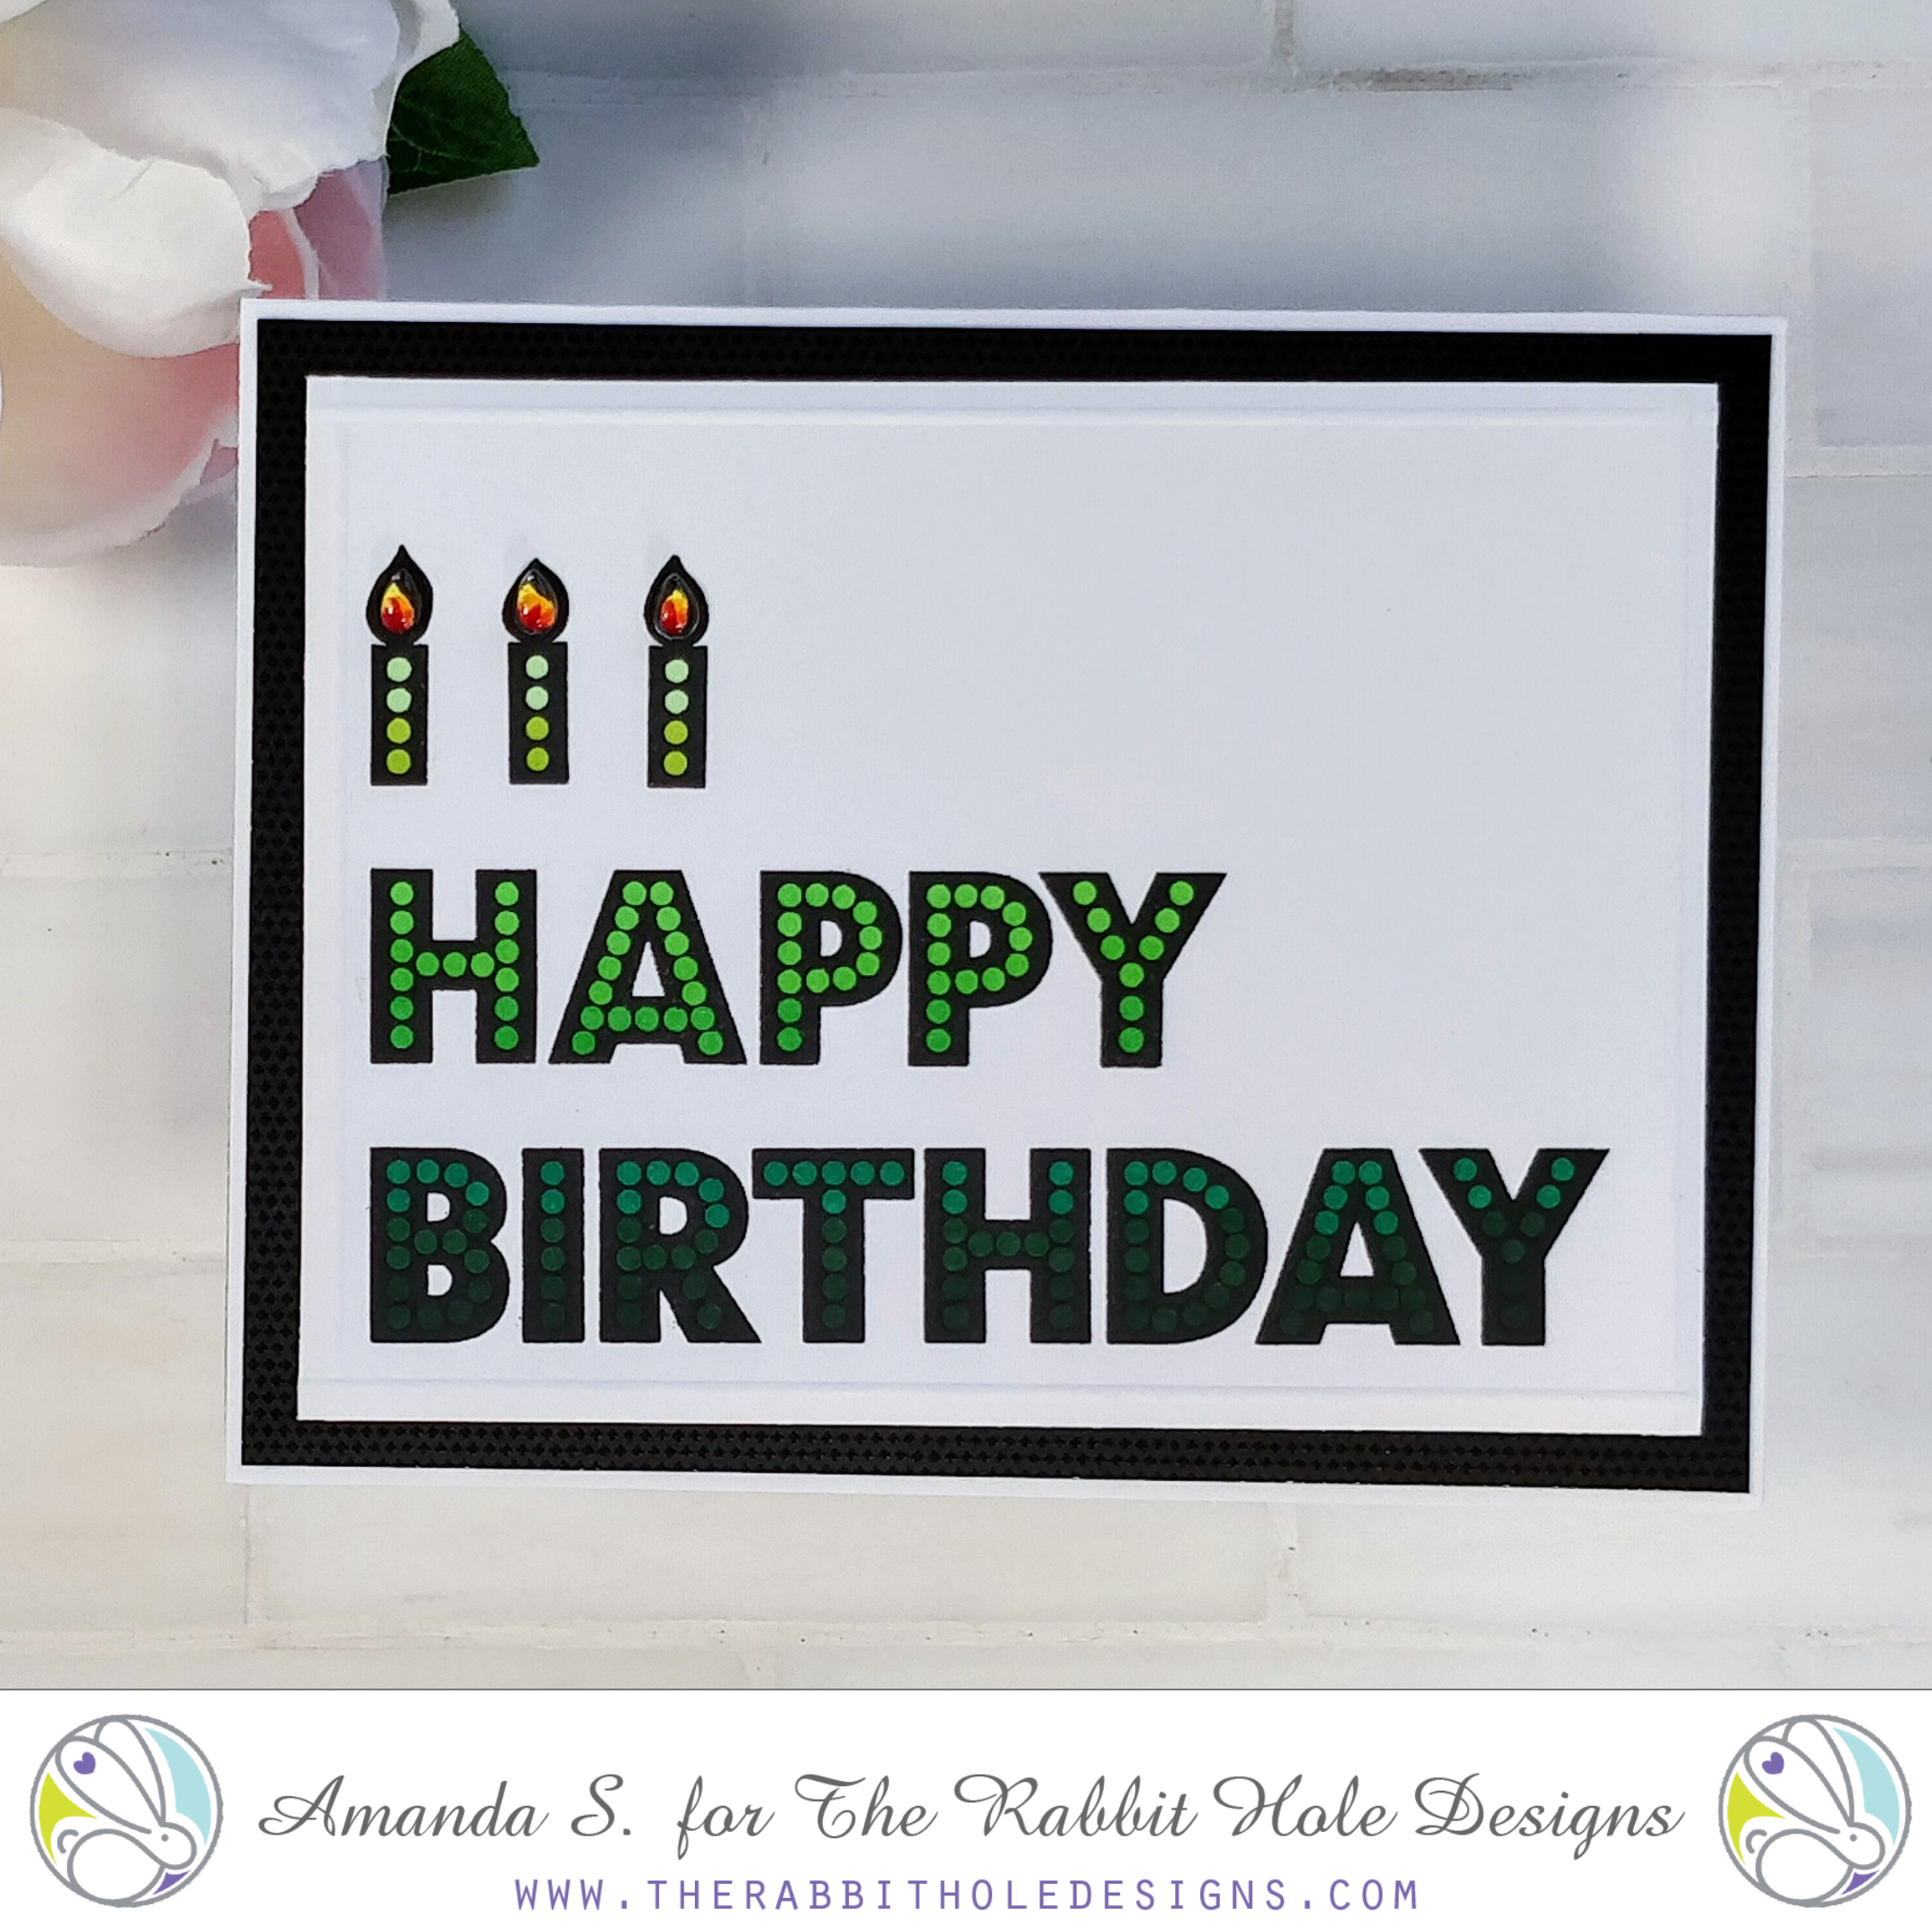
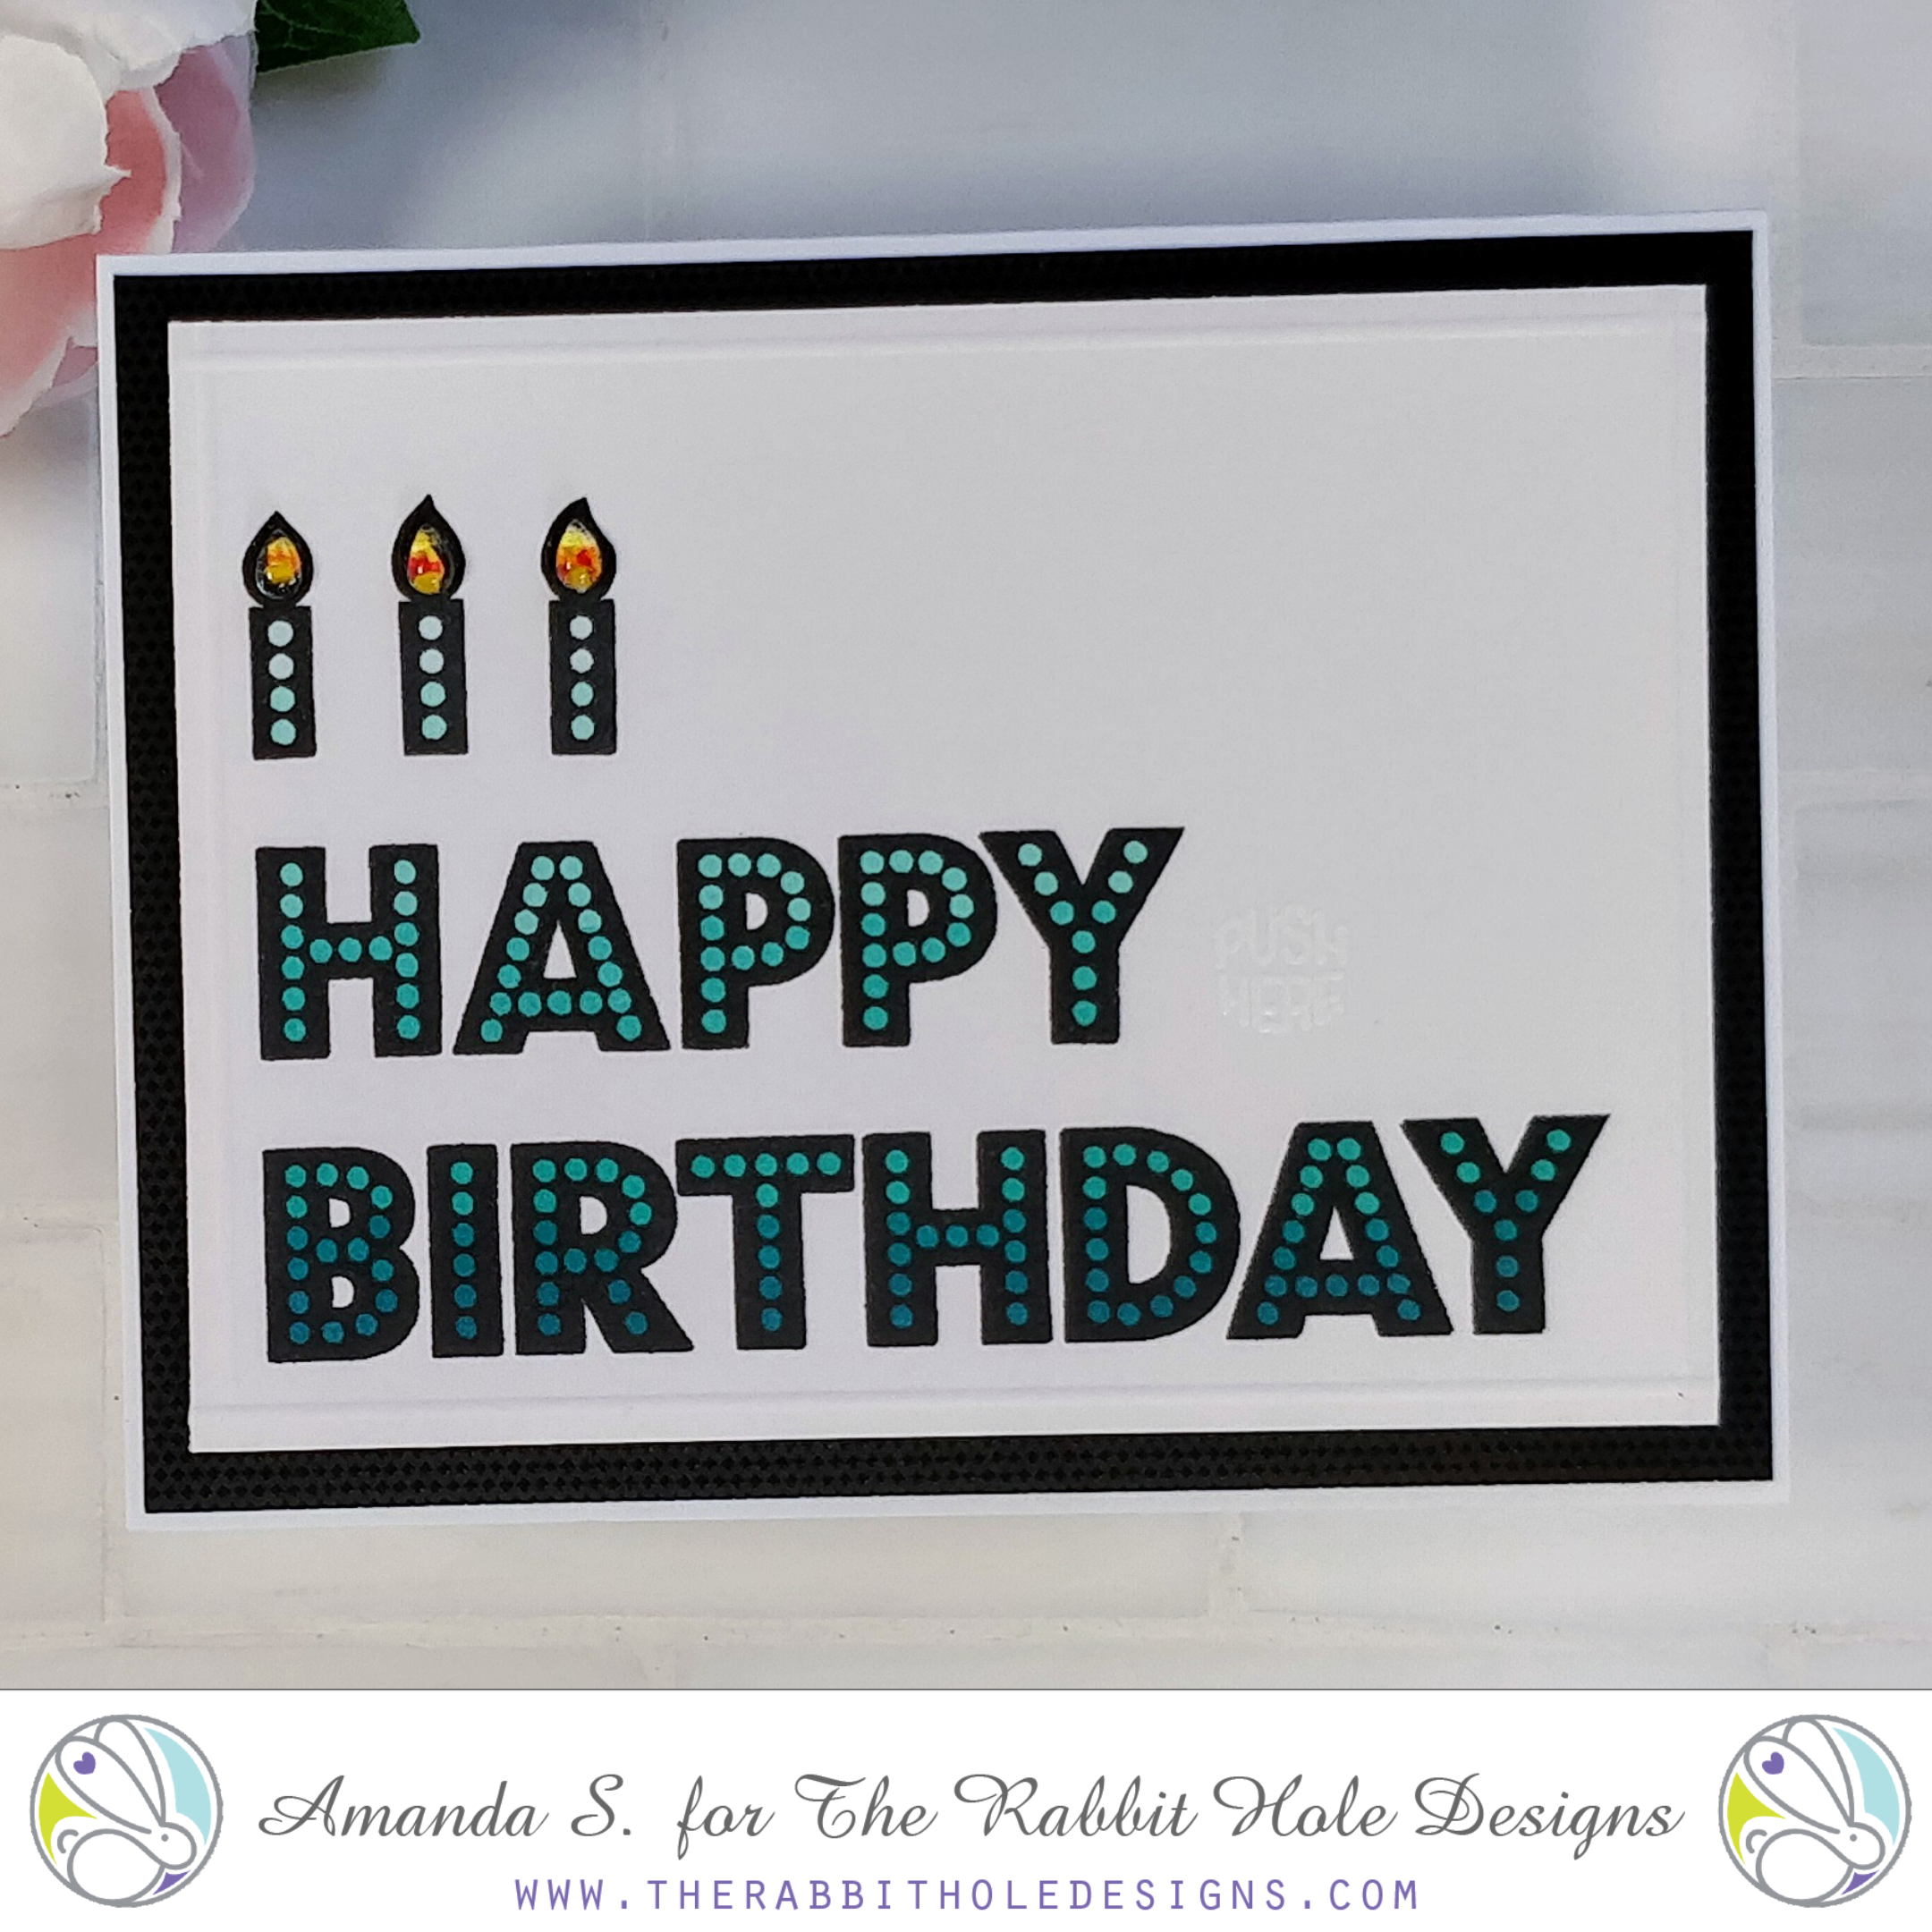
That's it. Pretty easy, right? Obviously, you can change up the colors, or even stamp on colored cardstock and fill in the dots with a white gel pen if you want a different look. Adding the lights only takes a few more minutes, but the card is great without them too. Here is a look at the finished cards. (The green doesn't have lights, the teal does.)

And here is a closeup of the lights, after the glue is dry. (Make sure to use a glue that will dry clear.) See how the whole gem lights up, instead of just the bottom of the flame? Pretty cool, right? You can use this same trick for other gems too, as long as they are clear or translucent (no silver paint on the back).

What do you think of my clean and simple, masculine cards? I hope I've inspired you to give them a try. Want to see another card made using the Marquee Words stamp set? Check this out. How about another card with gems that are lit up? This Christmas card has lights under the star and Rudolph's red nose.
Thanks for stopping by today! Head on over to my blog, to read the sister article and find links to the specific products I used for today's cards. If you give this a try, tag me on social media so I can see and cheer you on! I'll be back soon with more fun cards to share.
For more inspiration, updates, and news make sure to check out these places:
The Rabbit Hole Designs Instagram
The Rabbit Hole Designs Facebook Page
No comments:
Post a Comment